Tutorial - Using the Visual Builder
The Visual Builder is a feature that can be used to create a user interface directly from your VIKTOR environment. It allows you to quickly put together your desired UI without writing a single line of code.
You can find the Visual Builder under VIKTOR Labs in the main menu of your VIKTOR environment.
In this short guide you will learn how to transfer a blueprint created with the Visual Builder to your Development Workspace. By doing so you will be able to develop your app further. Please make sure that you have activated your account before starting this guide.
- Local development
- GitHub Codespaces
-
Create a new folder for your app
Add a new folder in your filesystem (e.g.
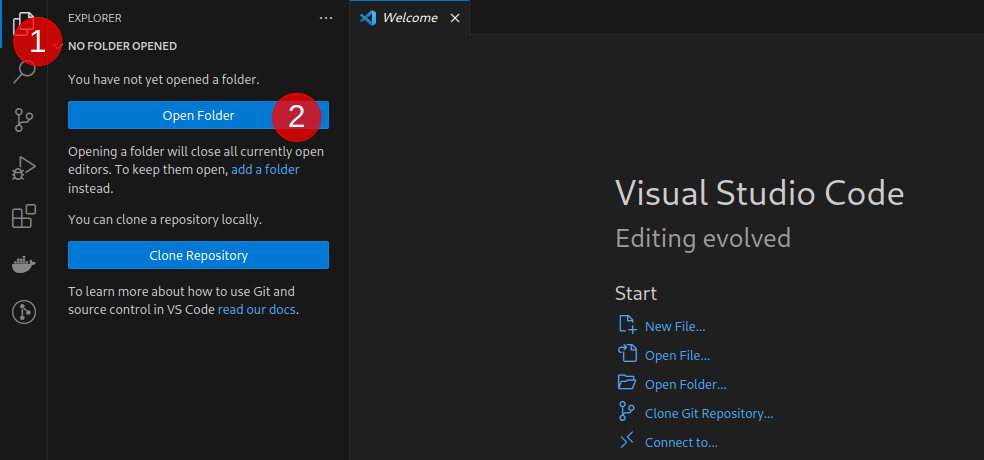
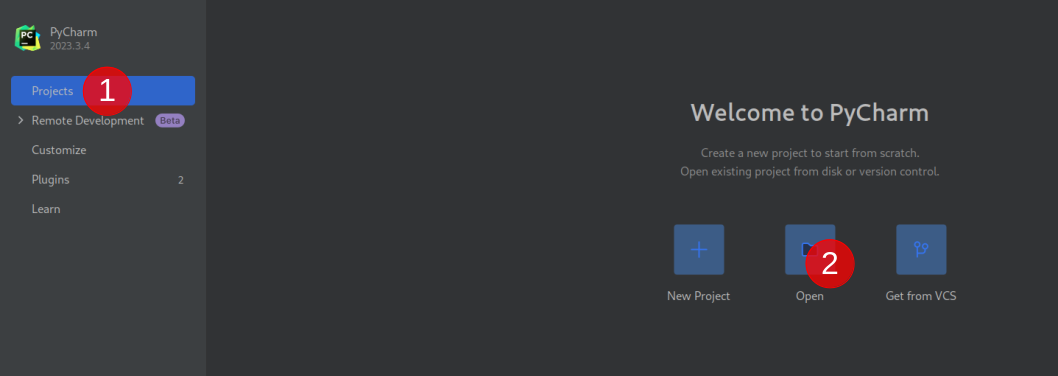
C:\Users\<username>\viktor-apps\my-app) and open it in your code editor- VS Code
- PyCharm


- Open your codespace (see setup instructions)
-
Create app template files
In the terminal, type the command shown below and hit enter
viktor-cli create-app --app-type editor -
Install and start the app
We'll do a clean installation of the app's dependencies by running the following command in the terminal. Just be patient, this could take a few minutes.
viktor-cli clean-startIf all went well, your app is installed and running in your development workspace:
INFO    : Connecting to cloud.viktor.ai...
INFO    : Connection is established (use Ctrl+C to close)
INFO    :
INFO    : Navigate to the link below to see your app in the browser
INFO    :     https://cloud.viktor.ai/workspaces/XXX/app
INFO    :
INFO    : App code loaded, waiting for jobs...
Do not close the terminal as this will break the connection with your app.
-
Click 'Copy Blueprint' in the Visual Builder, replace the content of the
app.pyfile with the generated Blueprint and save your file. -
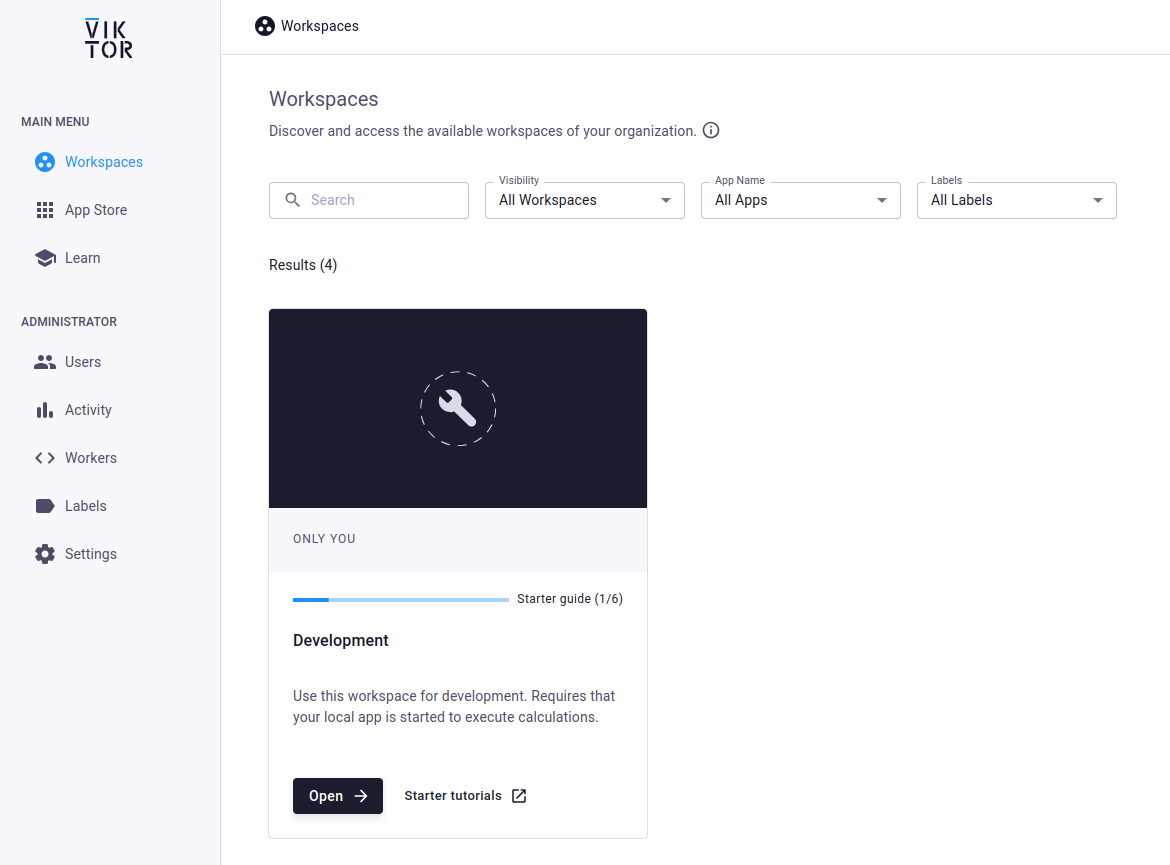
Go to your your development workspace to inspect the app you just created with the Visual Builder! Go to the the main menu, select 'Workspaces' and open your Development workspace by clicking the button.
