Starter guide
Great to see you are ready to learn how to use VIKTOR! Here you will learn the basics of creating VIKTOR apps!
Before you continue, please make sure you completed the installation / activation instructions which include:
- Installing Python on your computer
- Installing a code editor on your computer (e.g. PyCharm or VS Code)
- Activating your VIKTOR development account
Writing VIKTOR apps requires basic Python knowledge. If you are entirely new to this programming language, we advise to check out "Python for Non-Programmers" which lists learning resources including some nice interactive courses.
Create app
Before you can start developing, the app needs to exist on the VIKTOR platform. The create-app command takes care of this: it registers a new app on the platform and — with the --init flag — also generates the initial app code in a local folder on your machine so you can start building right away.
Open Windows PowerShell using Start (or a terminal if you use Linux/Mac) and run the command below. If you use GitHub Codespaces simply run the command in the terminal of your Codespace.
viktor-cli create-app "Hello VIKTOR" --init --app-type editor
The --init flag generates an initial app structure in a new hello-viktor folder in your current directory. The --app-type editor sets the app type to editor, which allows each user to create and manage their own instances of the app — the recommended choice when getting started. Learn more about the different app types.
Once the command completes, open the hello-viktor folder in your code editor. From within the folder, install the app's dependencies and start it against the platform by running:
viktor-cli clean-start
This is shorthand for running viktor-cli install, viktor-cli clear, and viktor-cli start in sequence — the full first-time setup in one command.
Do not close the terminal as this will break the connection with your app.
viktor-cli clean-start— first-time setup for a new app. Installs dependencies, clears the database, and starts the app.viktor-cli start— daily use. Reconnects an already-installed app to the platform.viktor-cli install— after changingrequirements.txt. Reinstalls dependencies without clearing data.viktor-cli clear— when your code introduces a breaking change to the database schema (you'll see an "App definition is not compatible..." error). After clearing, runviktor-cli start.
See the CLI reference for the full command list.
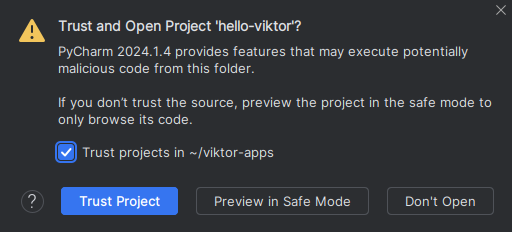
When I try to open the app code I see a warning message regarding trusting the project
You may first see a security warning about trusting projects located in the hello-viktor directory.
- PyCharm
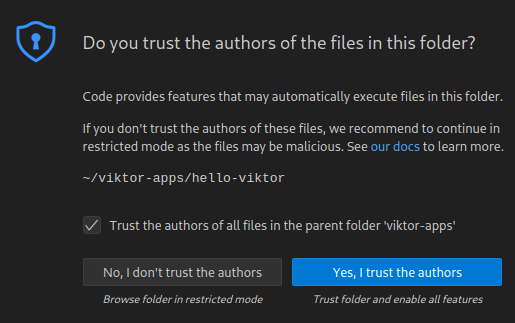
- VS Code
Go ahead and tick the checkbox, followed by clicking the "Trust Project" button:
PyCharm should now open and look similar as shown below:

Go ahead and click the "Trust Folder & Continue"" button:

Subsequently you can click the checkbox to automatically trust all your future apps, and click "Yes, I trust the authors":
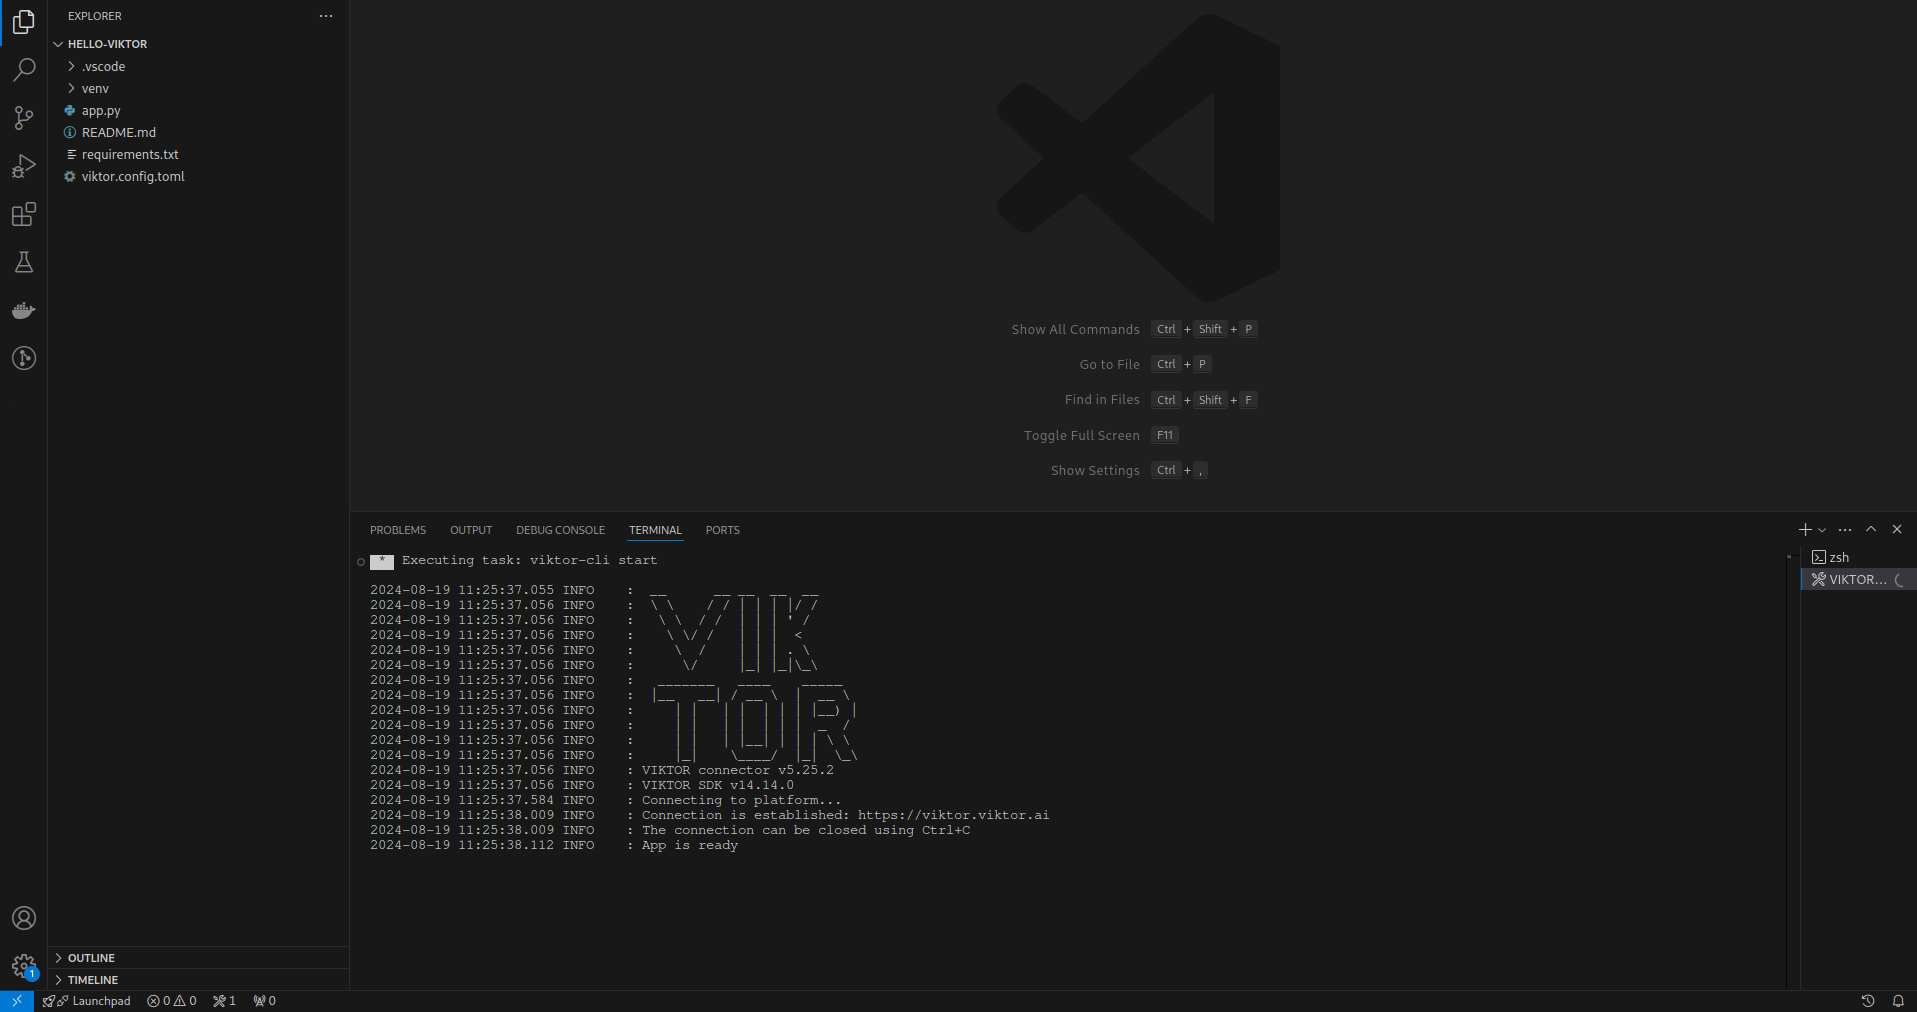
VS Code should now open and look similar as shown below:
I get the following error message 'viktor-cli not recognized'
If you activated your account, continued with the starter guide and installed a code editor in the same session you might encounter the following error:
viktor-cli : The term 'viktor-cli' is not recognized as the name of a cmdlet, function, script file, or operable program. Check the spelling of the name, or if a path was included, verify that the path
is correct and try again.
At line:1 char:1
+ viktor-cli
+ ~~~~~~~~~~
    + CategoryInfo          : ObjectNotFound: (viktor-cli:String) [], CommandNotFoundException
    + FullyQualifiedErrorId : CommandNotFoundException
You can solve this error by closing and restarting your code editor. After doing so you can run the command without any problems. The problem is caused because your code editor inherits the environment variables of the process that launched it and because you installed the VIKTOR CLI in the same session it requires a restart to be recognized properly.
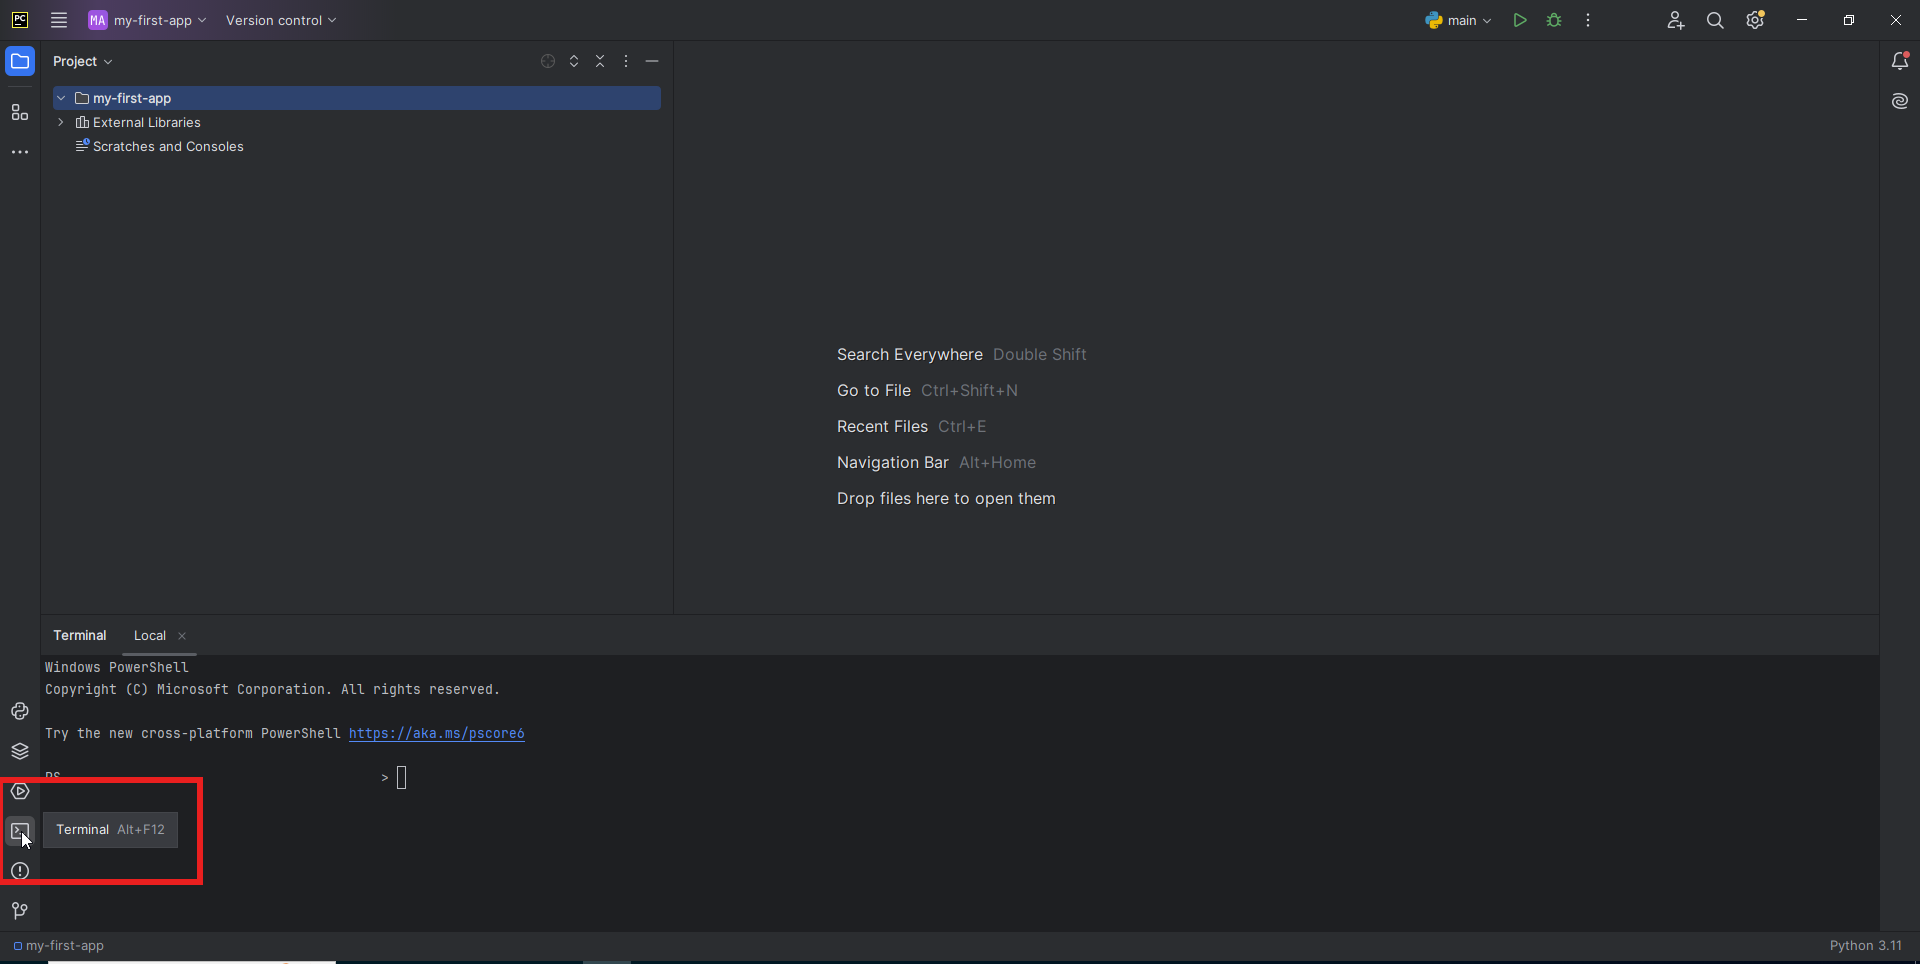
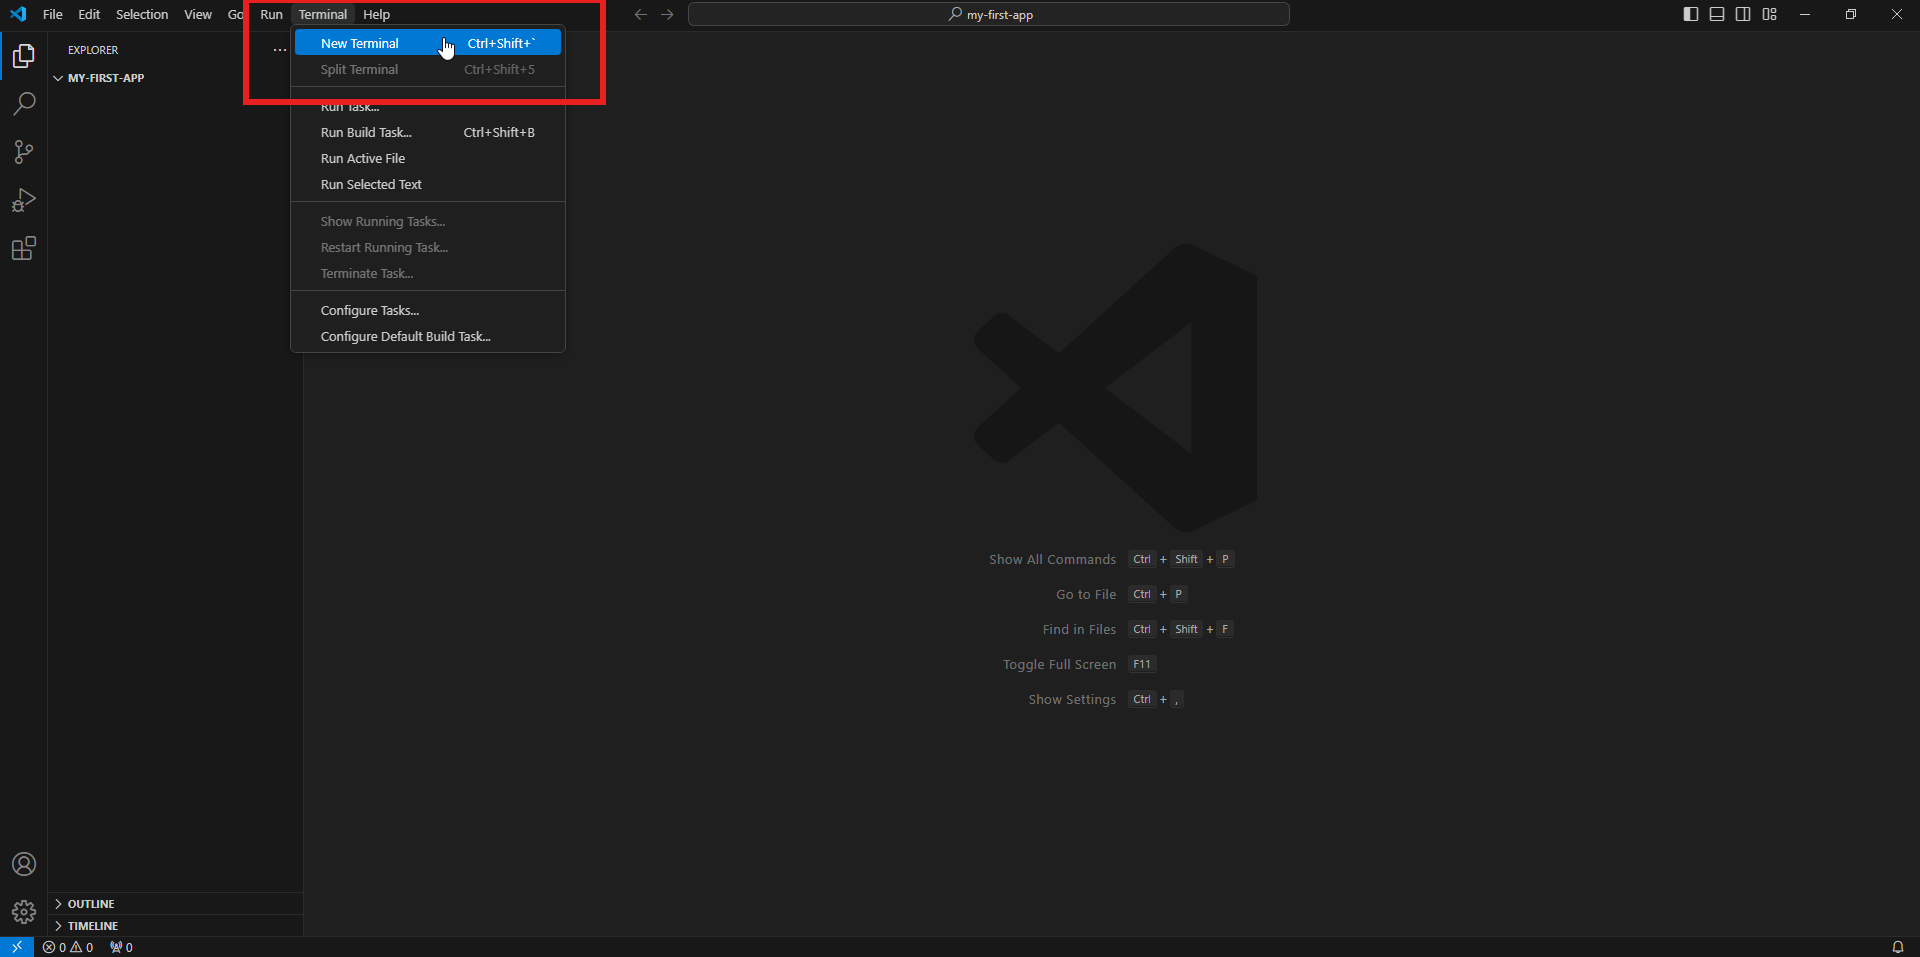
I cannot find my code editor's terminal
You can find the terminal as shown below:
- PyCharm
- VS Code
Where is the app located on my computer?
When you run the create-app command with --init, a new hello-viktor folder is created in the directory where you ran the command.
Open the development workspace
Each app has its own development workspace — this is where you can see what your app looks like in the browser and try out its functionality. You can enter the development workspace in two different ways:
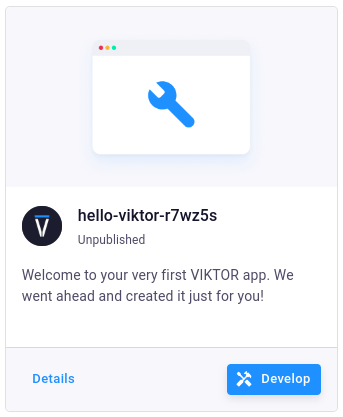
- By clicking the 'Develop' button on the app card. The 3 latest apps you created are shown on the 'Develop' page. Alternatively, you can find all your apps by visiting the App store and selecting 'My apps'.
-
By following the URL that is shown in the terminal when your app code connects to the VIKTOR platform. This is a direct link to the corresponding development workspace.
INFO    : Connecting to cloud.viktor.ai...
INFO    : Connection is established (use Ctrl+C to close)
INFO    :
INFO    : Navigate to the link below to see your app in the browser
INFO    :     https://cloud.viktor.ai/workspaces/XXX/app
INFO    :
INFO    : App code loaded, waiting for jobs...
After entering the development workspace, you'll see your (still empty) app — ready to be built out in the next sections.
Create input fields
Open the app.py file in your code editor. This is where you will write the code of your app.
The content should look like this:
import viktor as vkt


class Parametrization(vkt.Parametrization):
    pass # Welcome to VIKTOR! You can add your input fields here. Happy Coding!


class Controller(vkt.Controller):
    parametrization = Parametrization
The app.py file consists of 3 parts:
- (line 1) imports: this is where you import Python modules you use in your app
- (lines 4-5) Parametrization class: this is where you define the inputs of your app
- (lines 8-9) Controller class: this is where you define the outputs (such as visualizations) of your app
A detailed explanation of the folder structure and above concepts can be found here.
- The app will update automatically after adjusting and saving the
app.pyfile (as long as you don't close the terminal!) - Closed your code editor or the terminal inside your editor? Use
viktor-cli startto reconnect the app.
Let's replace the pass statement with a welcome message and a NumberField by copying the highlighted lines of code below. The vkt.Text widget displays formatted text in your app, and vkt.NumberField adds a numeric input. Your app.py file should look like this:
import viktor as vkt


class Parametrization(vkt.Parametrization):
    welcome = vkt.Text("# 👋 Welcome to your first VIKTOR app! 👋\n## Let's start with the basics")
    length = vkt.NumberField("Length")


class Controller(vkt.Controller):
    parametrization = Parametrization
Save the app.py file. This action triggers a reload of your app. This reload is shown in the terminal.
If you made a coding mistake, errors will also be printed in the terminal.
INFO    : Reloading app...
INFO    : App code loaded, waiting for jobs...
Refresh your webpage in the browser to see the "Length" input we just added:
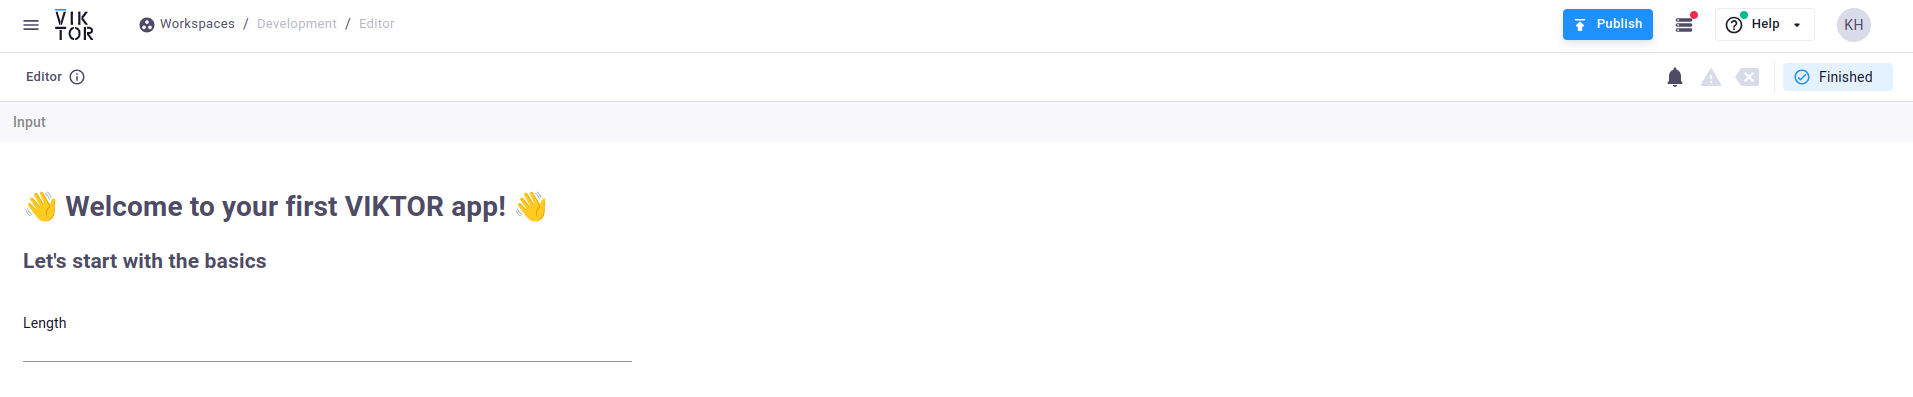
Go ahead and click in the box just beneath "Length" to start typing.
In many cases it is helpful to guide the user by providing a default value for the input fields. You can add a default value of 1 like this:
import viktor as vkt


class Parametrization(vkt.Parametrization):
    welcome = vkt.Text("# 👋 Welcome to your first VIKTOR app! 👋\n## Let's start with the basics")
    length = vkt.NumberField("Length", default=1)


class Controller(vkt.Controller):
    parametrization = Parametrization
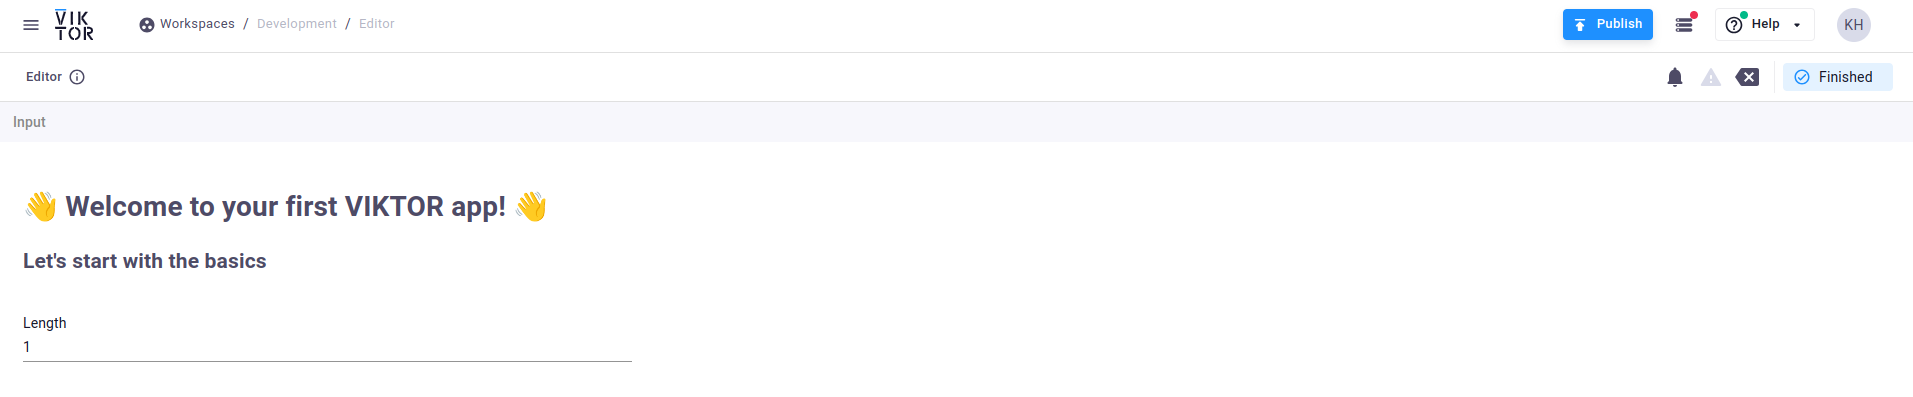
Save the app.py file and refresh your webpage in the browser. Any pop-up regarding unsaved changes may be ignored.
After reloading, your app will show the default value:
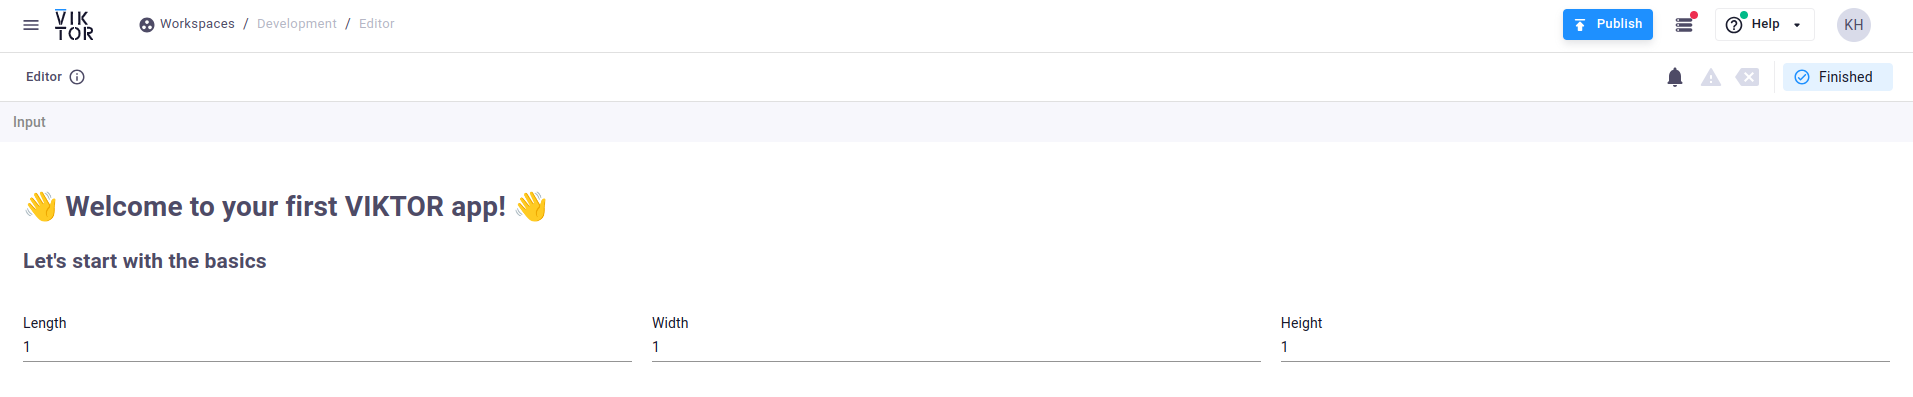
To conclude the parametrization of our design, we will add 2 more number fields representing the "Width"
and "Height" respectively. Copy the highlighted lines of code below such that your app.py file looks similar:
import viktor as vkt


class Parametrization(vkt.Parametrization):
    welcome = vkt.Text("# 👋 Welcome to your first VIKTOR app! 👋\n## Let's start with the basics")
    length = vkt.NumberField("Length", default=1)
    width = vkt.NumberField("Width", default=1)
    height = vkt.NumberField("Height", default=1)


class Controller(vkt.Controller):
    parametrization = Parametrization
Save the app.py file and refresh your webpage in the browser:
Create visualizations
Now let's see how we can use these input fields in a result! In this example we will use the length, width, and height defined in the parametrization as dimensions of a cube. The cube's volume and outer surface area are the results we will show in a table view.
Copy the highlighted lines of code below, such that your app.py file looks like this:
import viktor as vkt


class Parametrization(vkt.Parametrization):
    welcome = vkt.Text("# 👋 Welcome to your first VIKTOR app! 👋\n## Let's start with the basics")
    length = vkt.NumberField("Length", default=1)
    width = vkt.NumberField("Width", default=1)
    height = vkt.NumberField("Height", default=1)


class Controller(vkt.Controller):
    parametrization = Parametrization

    @vkt.TableView("Results")
    def results(self, params, **kwargs):
        data = [
            [1, 2],
            [3, 4],
        ]
        row_headers = ["Row 1", "Row 2"]
        column_headers = ["Col 1", "Col 2"]
        return vkt.TableResult(data, row_headers=row_headers, column_headers=column_headers)
Save the app.py file and refresh your webpage in the browser:
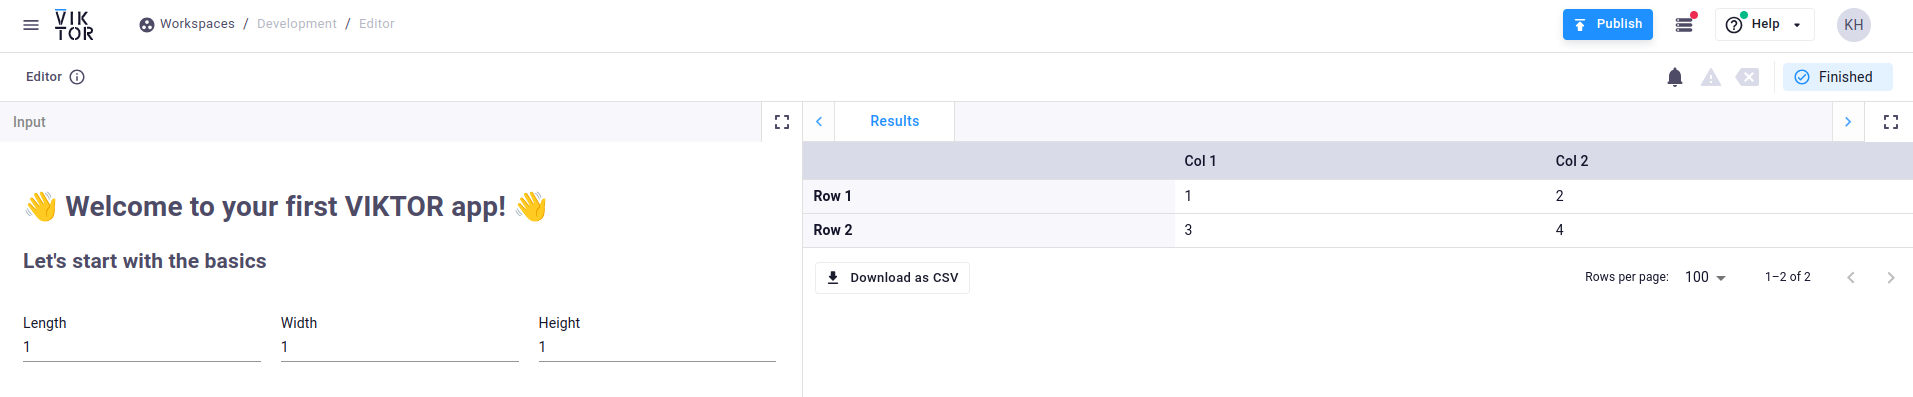
Great, now let's connect the input values (obtained using the params argument) to the output. We will also rename the row and column headers to be more specific for our app:
import viktor as vkt


class Parametrization(vkt.Parametrization):
    welcome = vkt.Text("# 👋 Welcome to your first VIKTOR app! 👋\n## Let's start with the basics")
    length = vkt.NumberField("Length", default=1)
    width = vkt.NumberField("Width", default=1)
    height = vkt.NumberField("Height", default=1)


class Controller(vkt.Controller):
    parametrization = Parametrization

    @vkt.TableView("Results")
    def results(self, params, **kwargs):
        volume = params.length * params.width * params.height
        surface = 2 * (params.length * params.width + params.length * params.height + params.width * params.height)
        data = [
            [volume, "m³"],
            [surface, "m²"],
        ]
        row_headers = ["Volume", "Surface"]
        column_headers = ["Value", "Unit"]
        return vkt.TableResult(data, row_headers=row_headers, column_headers=column_headers)
Save the app.py file and refresh your webpage in the browser:

Well done! You can now adjust the dimensions of the cube and directly see its effect on the volume and outer surface area.
Publish and share
So far your app only runs against your local code. To make it available to your colleagues, you need to publish it to the VIKTOR platform. Once published, the app becomes accessible to users in your organization's environment without them needing any local setup.
Head over to the Publish apps section for step-by-step instructions on publishing your app and adding it to a project.
Automate the boring!
With these basic instructions you now have the skills to build your very own apps!
This is just the tip of the iceberg however. With VIKTOR you can also create 3D models, interactive data visualizations, automated reports, geographic maps and much more... Click the button below to continue your journey!
What's next
Go to tutorials