Autodesk Revit
This guide provides the basic information about our Revit integration.
If this is your first time setting up an integration, we recommend to follow one of the Intermediate tutorials.
System requirements:
- 💻 Windows PC
- 🐍 Python =< 3.10
- A version of Revit (we use 2024 in this guide)
To integrate Revit into a VIKTOR application, you will require some additional software.
Download and install pyRevit
In order to use Revit with Python, you will need to download and install the pyRevit extension for Revit. You can find all the information you need to install pyRevit and connect it to your version of Revit in the pyRevit documentation. After following the steps of the installer, continue to the next section.
Additional information
You may want to consult some additional information about the software we are using, below you can find some useful links:
Setup work environment
Before you can start building your VIKTOR - Revit apps, you will need to complete some steps for the setup.
Step 1: Add integration to app config
To make the worker integration available through the interface, add the following to your viktor.config.toml:
worker_integrations = [
    "revit",
]
Instructions on how to install the worker:
Install the worker
Follow these steps to install the worker:
- Development
- Published App
Personal workers are installed and managed with VIKTOR Desktop:
-
Download and install VIKTOR Desktop and log in with your VIKTOR account, if you haven't done so already
-
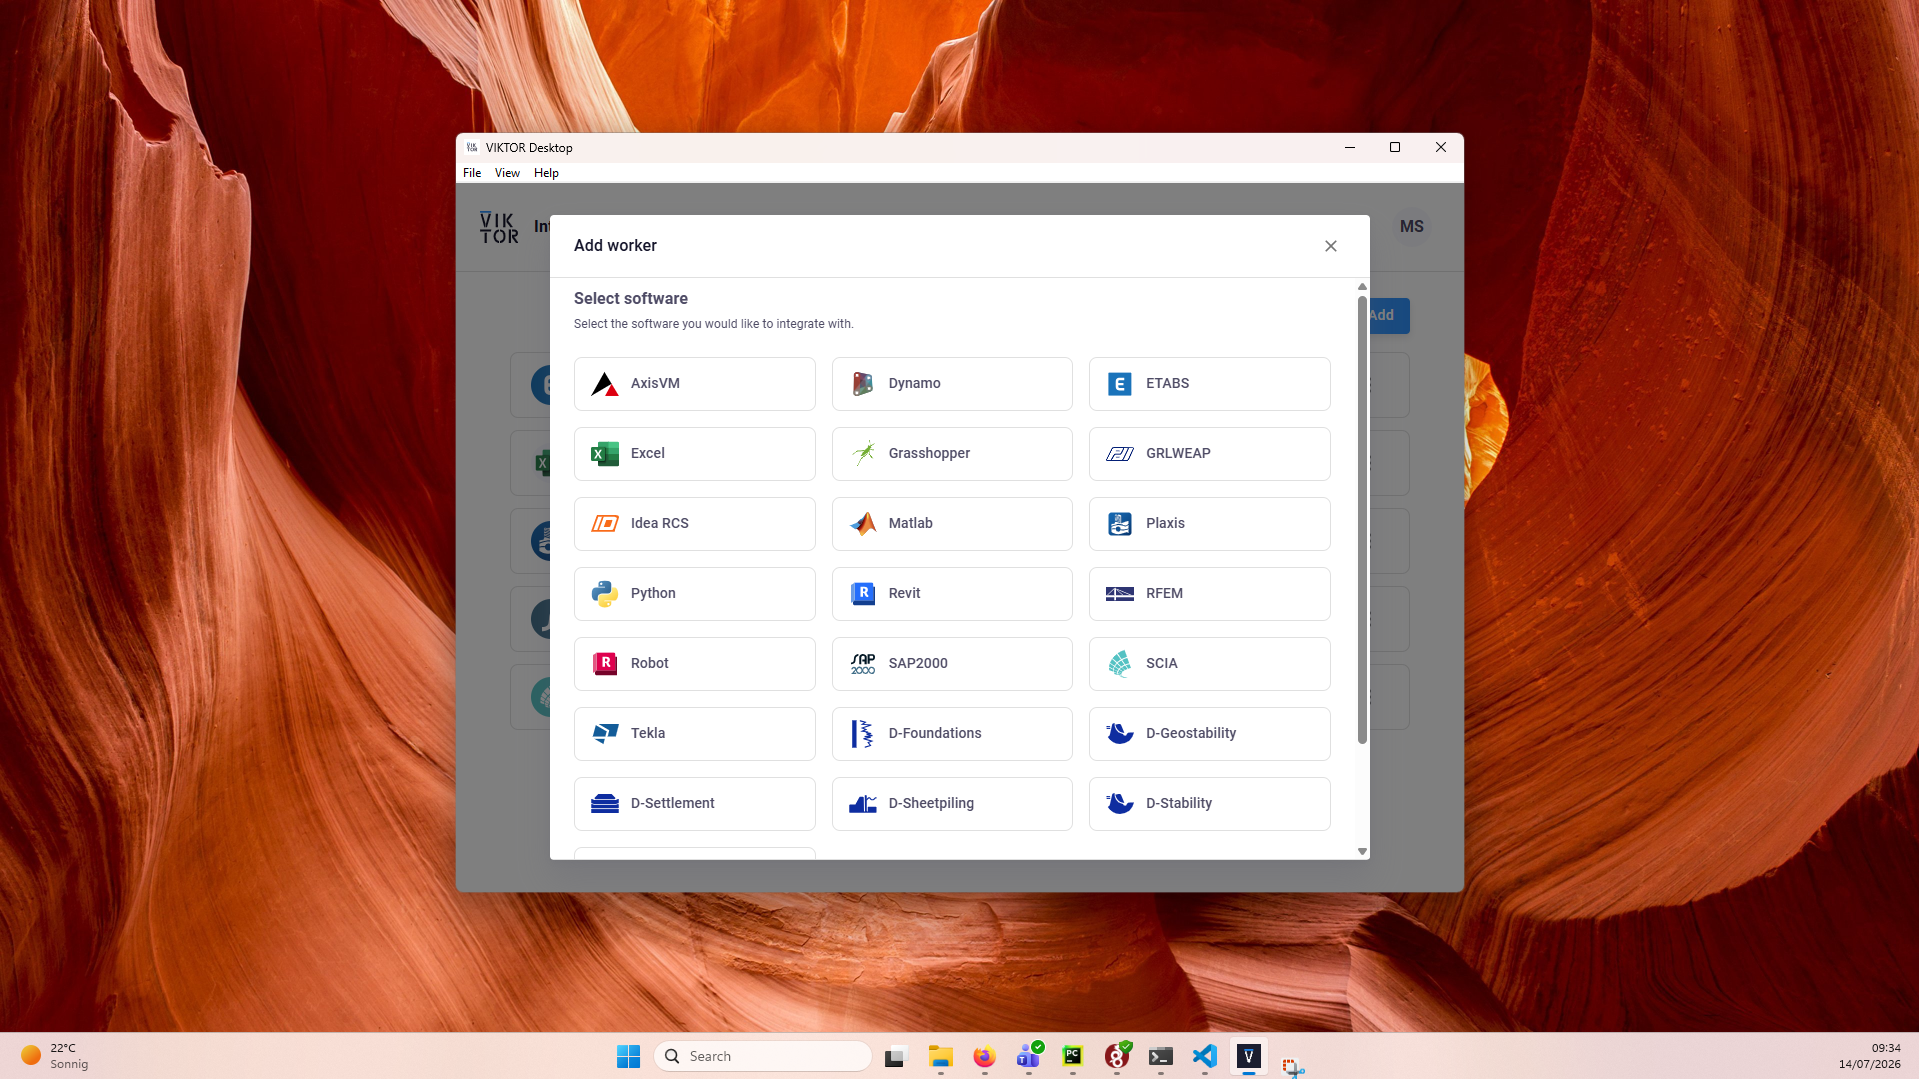
In VIKTOR Desktop, click "Add" and select Revit
-
Select the Python environment of your choice by setting the path to its
python.exeas the executable path. This can be your system Python, or the python.exe in a dedicated virtual environmenttipYour default Python environment can usually be found in
C:\Users\Username\AppData\Local\Programs\Python\Python31X\python.exeIf you cannot find it, try running the following command in your terminal
where python -
Start the worker. You can view its logs inside VIKTOR Desktop, and the editor shows when your worker is online
Personal workers that were installed with the previous per-worker installer keep running, but new personal workers can only be added through VIKTOR Desktop: the per-worker installer download and connection-key flow are no longer available for personal use.
You need to be an environment administrator in order to install a worker for a published app.
-
Navigate to the "Integrations" tab in the Administrator panel
-
Click "Add integration"
-
Follow the steps provided in the modal
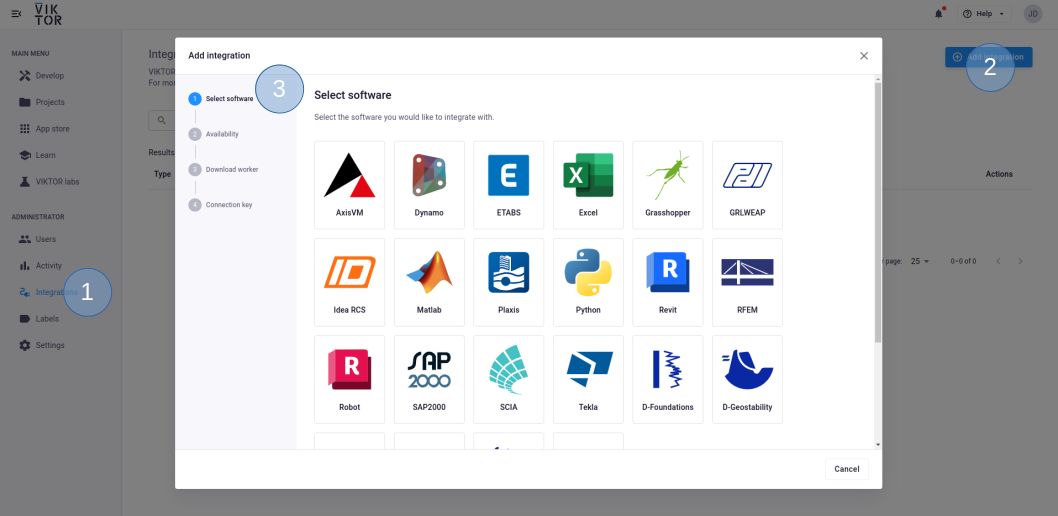
3.1. Select Revit
3.2. Select the workspace(s) the integration should be available to
3.3. Download the worker .msi (Microsoft Installer) and run it on the machine of choice
3.4. Copy the generated connection key and paste it when the installer asks for it. In the browser, you can now click Finish and continue in the installer.
Connection KeyThe generated connection key should be copied immediately as VIKTOR will not preserve this data for security reasons.
-
In the installer wizard, select the Python executable of your choice, this can be your system Python, or the python.exe in a dedicated virtual environment
tipYour default Python environment can usually be found in
C:\Users\<Username>\AppData\Local\Programs\Python\Python31X\python.exe.If you cannot find it, try running
where pythonin your terminal. -
Make sure to launch the integration once the installation is finished. If you closed the integration, you can restart it through the desktop shortcut.
Step 2: Start a VIKTOR app
You will need to create, install and start an empty app. If you would like a quick reminder on how to do this, you can follow the steps here.
Step 3: Add a run script to your VIKTOR app
In the folder of the VIKTOR app, copy the code below into a Python file. This code will let the worker's operating system know which script to run
import os

# command to run:
command = 'pyrevit run "C:\PATH\TO\pyrevit_script.py" "C:\PATH\TO\MODEL.RVT\IF\APPLICABLE"

if __name__ == '__main__':
    # run the command
    os.system(command)
Step 4: Activate the scripts on the worker
The next step is to connect the VIKTOR app to the worker via a Generic Analysis, feel free to copy the example function below, into your VIKTOR app. Depending on the view you are using for your output, you may need to replace the output files with an output that can be processed by python or your chosen view.
import viktor as vkt
from pathlib import Path


def run_pyrevit(params):
    pyrevit_command = vkt.File.from_path(Path(__file__).parent / "pyrevit_run.py")
    pyrevit_script vkt.File.from_path(Path(__file__).parent / "pyrevit_script.py")
    analysis = vkt.revit.RevitAnalysis(
        script=pyrevit_command, files=[("pyrevit_script.py", pyrevit_script)], output_filenames=["output.pdf"]
    )
    analysis.execute(timeout=300)
    return analysis.get_output_file("output.pdf")
You are now ready to build a GUI in the VIKTOR app and you can write your instructions for the worker in the 'script.py' file.
Useful tips and tricks
Before setting up a worker on another machine, it is recommended to try it on your computer first. That way you will be able to test and debug your pyRevit code before it is placed on an external machine.
As you may have noticed, there are quite a few filepaths that need to be taken into account. There is definetly some bookkeeping required to make sure all goes well. The easiest way to keep track of the filepaths is to keep a note (possibly in your VIKTOR app) in which you can keep the filepaths of the worker.
The documentation for the Revit API is quite generic and may not seem to be for Python and you would be correct, it is for C#. However, the names and conventions are all the same in pyRevit and because the Revit API is well documented, you can use it just like any other API you would use for python. In the documentation, you can find out more and some examples to help you on your way.
Would you like to see an example?
VIKTOR offers a wide variety of sample repositories on GitHub, one of which is the pyRevit integration app. If you have a version of Revit installed on your computer, you can try out the proof-of-concept app to get an idea of how such an app works and behaves.
Testing
RevitAnalysis.execute needs to be mocked within
the context of (automated) testing.
The viktor.testing module provides the mock_RevitAnalysis
decorator that facilitate mocking of workers:
import unittest

import viktor as vkt

from viktor.testing import mock_RevitAnalysis

from app.my_entity_type.controller import MyEntityTypeController


class TestMyEntityTypeController(unittest.TestCase):
    @mock_RevitAnalysis(get_output_file={
        'result.xml': vkt.File.from_path('test_file.xml'),  # <name>: <File>
        'result.json': vkt.File.from_path('test_file.json'),
        ...
    })
    def test_analysis(self):
        MyEntityTypeController().analysis()
For the decorator's input parameters the following holds:
- If a Sequence type is provided, the next entry is returned for each corresponding method call. When a call is performed on a depleted iterable, an Exception is raised.
- If a single object is provided, the object is returned each time the corresponding method is called (endlessly).
- If None is provided (default), a default File/BytesIO object (with empty content) is returned each time the corresponding method is called (endlessly).